
Hello internet people,
So you have created a website and you are looking to optimize it so your audience can discover it easily. Well, good for you! In this article, I will teach you how to make your WordPress site more visible in search engines by creating a sitemap and submitting it to Google Search Console.
If you are more comfortable with video tutorials, you can check out my video on the topic below.
Ok, back to the article.
Why Submit a Sitemap to Google?
A sitemap is a file used to indicate the links you would like Google to crawl on your website. You can use sitemaps to improve your website’s visibility if:
- You have a large website
- Your web pages aren’t well linked to each other
- It is new or changes often.
Of course, this doesn’t mean you can’t use sitemaps if your website doesn’t meet these criteria. It’s important to submit your sitemap to search engines because your site would still benefit from having one; as it would improve its chances of being discovered in a Google search.
How to Create a WordPress Sitemap for WordPress and Submit it to Google Search Console
Alright, enough of the theory. Let’s jump right in and learn how to generate a sitemap XML for WordPress.
Before we begin, here is a list of the steps we will take.
- Install the Yoast SEO plugin
- Create an XML sitemap
- Submit the sitemap to Google Search Console
Quite simple, right? Ok, let’s get to work!
Step 1: Installing Yoast SEO
To create a sitemap for your WordPress site, you need to install a plugin called “Yoast SEO”.
Yoast SEO is a very popular and useful plugin that can help optimize your website for search engines. In my opinion, Yoast is the best sitemap generator for WordPress so far.
If you’d rather not use a plugin, you can check out the video tutorial below instead.
Now, back to Yoast plugin.
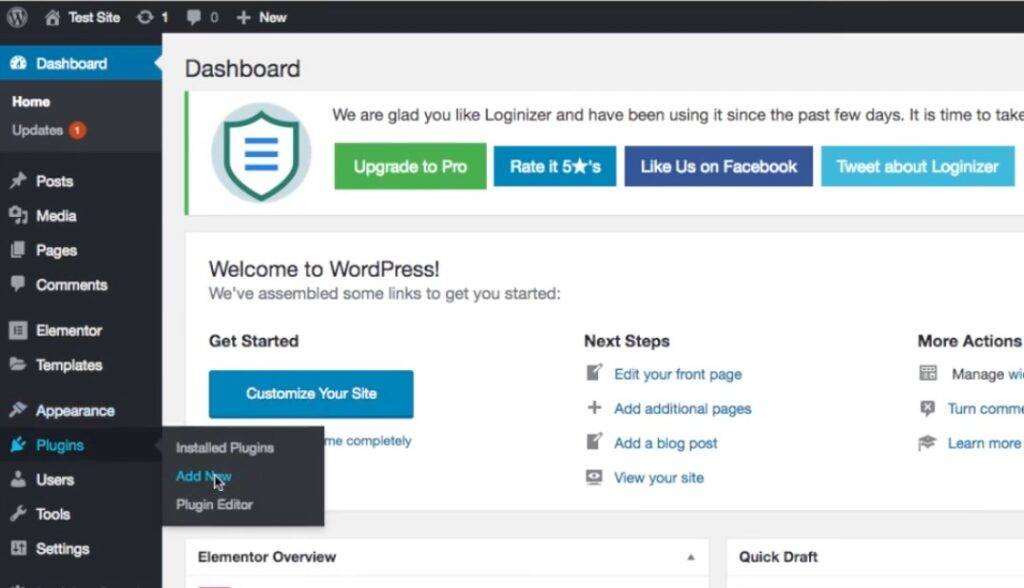
To install Yoast SEO, make sure you are logged into your WordPress dashboard. From the left menu, hover your cursor on Plugins and select Add New from the options that show up.
Next, type “Yoast SEO” in the search field and hit enter.
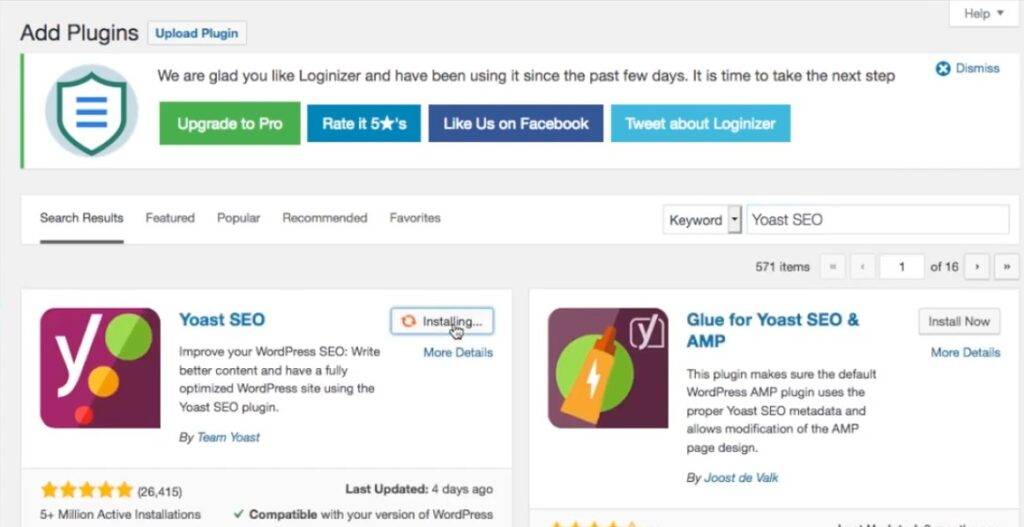
Once the search results are out, click on Install Now to install the plugin. The installation process might take a while, but once it has completed, click on Activate. You should now see the Plugins overview page.

Step 2: Creating XML Sitemap for WordPress
Now that we have installed the Yoast plugin, let’s move on to generating an XML sitemap for our WordPress website. It turns out we don’t need to do much in this regard. Yoast SEO automatically generates one for you when you install the plugin.
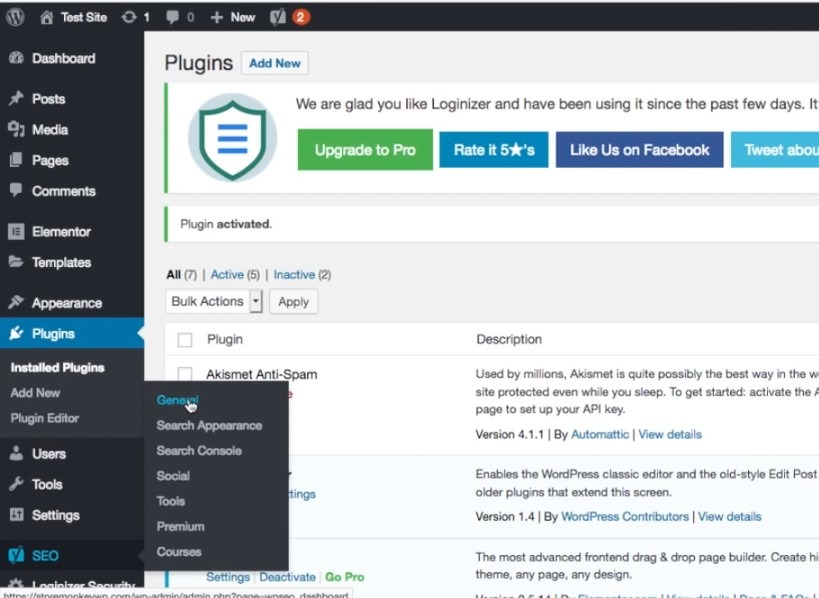
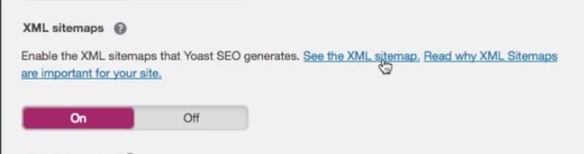
To see the sitemaps generated, go to the left menu, and hover your cursor over SEO at the bottom. Select General from the options that show up. This should take you to the Yoast SEO dashboard.
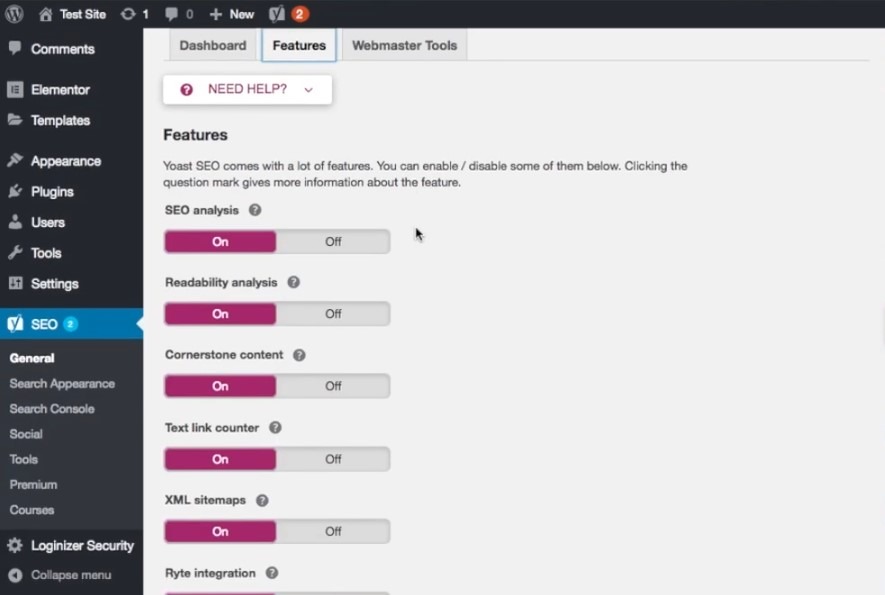
On the Yoast SEO page, there are three tabs; Dashboard, Features, and Webmaster Tools. Click on the Features tab. The Features tab contains all the features that come with Yoast SEO and allows you to turn them on or off. Scroll down till you see XML sitemaps and make sure it is turned on.
Now, click on the question mark icon beside the XML sitemaps text. This would reveal some links. Click on the link that says See the XML sitemap.
You should now see a list of XML sitemaps generated by Yoast SEO. As you can see in the image below, Yoast SEO has generated five XML sitemaps for my website. The page below is the XML sitemap index page.
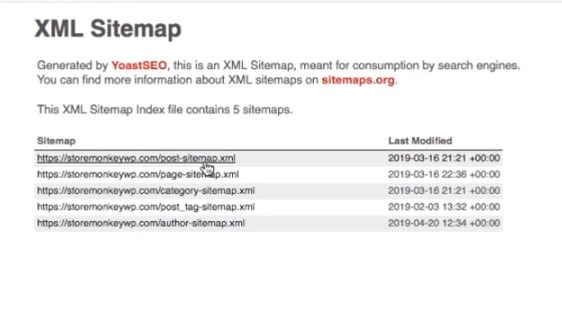
It contains all the XML sitemaps generated for your website. If you click on any of the sitemaps, you would see the content. In my case, the first sitemap on my page contains the URLs to my blog posts.

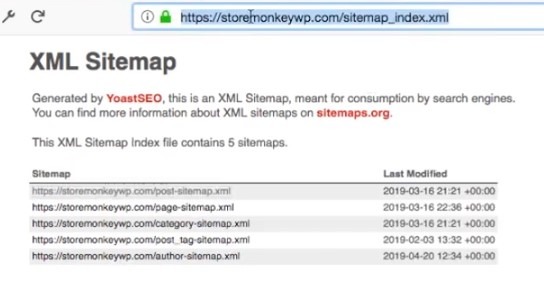
To proceed to the next step, copy the URL at the top of your browser. Make sure the URL is that of your sitemap index, and not of the individual sitemaps displayed under it. It is this URL we are going to submit to Google Search Console in the next and final step.
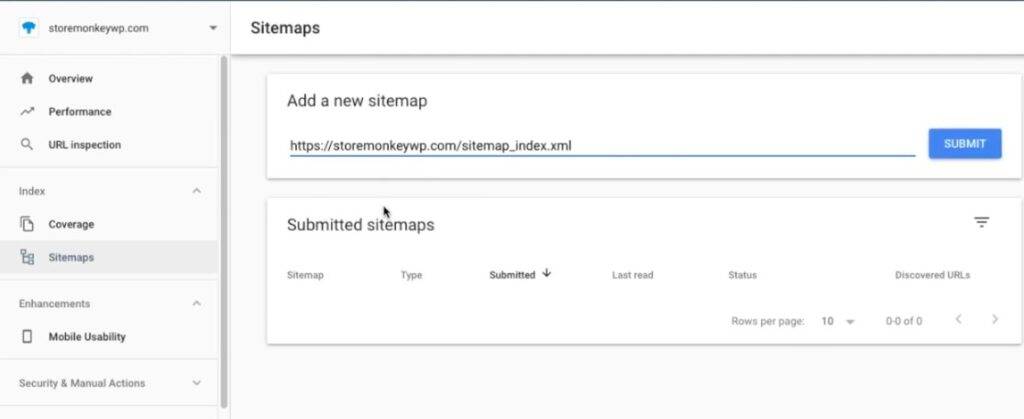
Step 3: Submitting The Sitemap To Google Search Console
Now here comes the final and most important step. Once you have copied the sitemap URL, open a new tab in your browser, and visit this address to use Google Search Console. Alternatively, you can search for “search console.” Click on the first option you see.
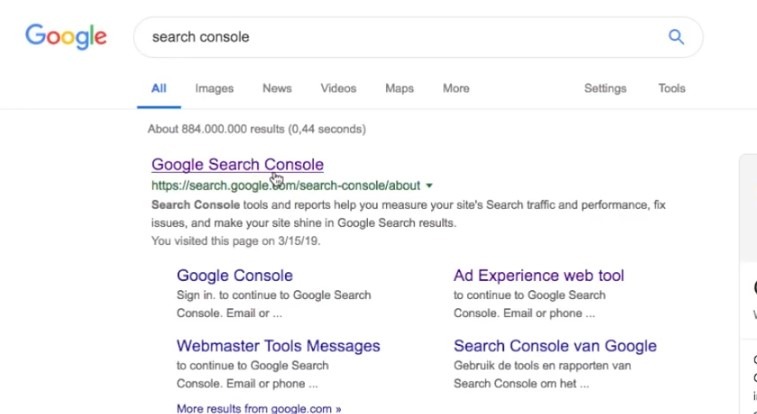
Note that your search result page might look a little different from mine.
Next click on Start now. If you have previously set up a Google Search Console account, you should now see a page similar to the screenshot below. If not, you need to set up your account first and also verify that the domain name is yours. You can check out this video tutorial on how to do this.
Once you are on this page, verify that you have the right website selected in the dropdown menu at the top-left corner. This should have been added when you were setting up the account.
Now, click on Sitemaps from the left menu and paste the sitemap URL you copied from the previous step into the sitemap field.
Click on the submit button. Google would now begin to crawl your sitemap. Once it is done, you would get a message that says Sitemap submitted successfully.

When you return to the sitemap section, you should see a page similar to the screenshot below with the Status field showing Success.
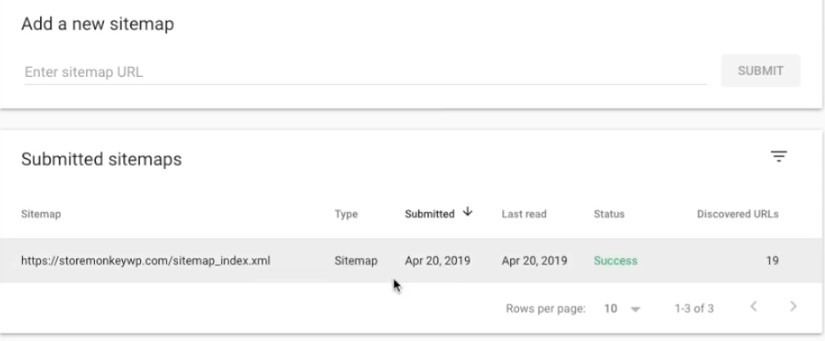
Sometimes you might not get a success status immediately and instead get a Couldn’t fetch error. This is caused by a bug in the new Google Search Console. Now, all you need to do is wait 24 hours and check back. By then, the status should have changed to Success.
To check if Google has picked up your site, do a Google search of the web address. You can add “site:” just before the website (for example site:storemonkeywp.com) to restrict the search results to only webpages from the specified website.
Note that if you have a new website, it could take weeks before Google picks up your website. For older, more established websites, it only takes minutes.
Alright, so that’s it and now you have successfully created and submitted your XML sitemap for WordPress using Yoast Plugin.
I hope you enjoyed reading this as much as I did writing it, if any questions, please drop them in the comments.
Till we meet again. Ciao!
Hosting I’m using: http://punchsalad.com/hostpapa/ (60% discount)
Where I get my domains: namecheap.pxf.io/rorrB
WP plugins I’m using: http://punchsalad.com/recommendation…
Some of the above links might be affiliate links.
Support my commitment to drinking beer with the PayPal tip jar. Thank you!
#sitemapforwordpress #digitalworld #punchsalad


Thank you so much dear Sir I learned a lot from you. I watched almost all videos of yours Now I’m also a WordPress website maker Nayem Nehal. Love From my Bangladesh
Glad I could help Nayem!
Thanks for your videos, they help me to have more knowledge.
glad to help!